Macros in MS Excel
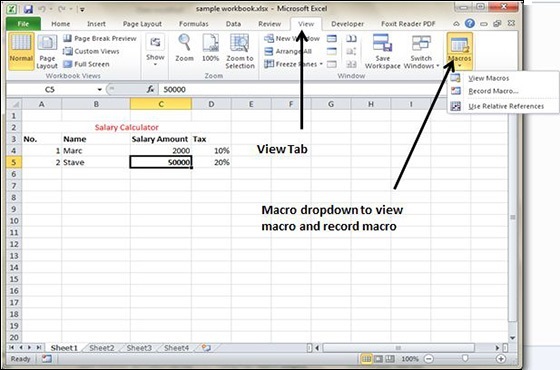
Macros enable you to automate almost any task that you can undertake in Excel 2010. By using macro recorder from View Tab » Macro Dropdown to record tasks that you perform routinely, you not only speed up the procedure considerably but you are assured that each step in a task is carried out the same way each and every time you perform a task.
To view macros choose View Tab » Macro dropdown.

Macro Options
View tab contains a Macros command button to which a dropdown menu containing the following three options.
-
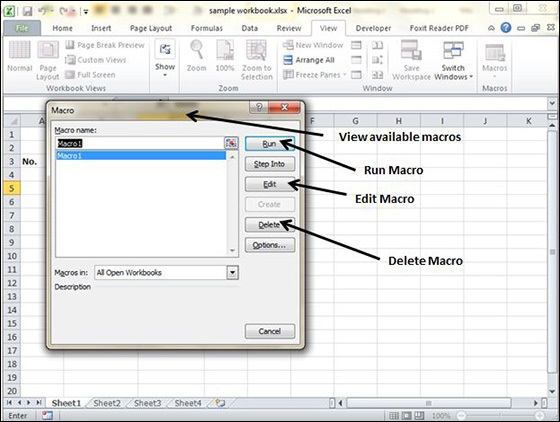
View Macros − Opens the Macro dialog box where you can select a macro to run or edit.
-
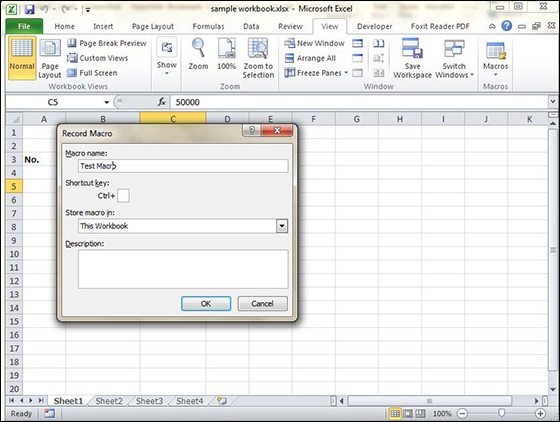
Record Macro − Opens the Record Macro dialog box where you define the settings for your new macro and then start the macro recorder; this is the same as clicking the Record Macro button on the Status bar.
-
Use Relative References − Uses relative cell addresses when recording a macro, making the macro more versatile by enabling you to run it in areas of a worksheet other than the ones originally used in the macro’s recording.
Creating Macros
You can create macros in one of two ways −
-
Use MS Excel’s macro recorder to record your actions as you undertake them in a worksheet.
-
Enter the instructions that you want to be followed in a VBA code in the Visual Basic Editor.
Now let’s create a simple macro that will automate the task of making cell content Bold and apply cell color.
- Choose View Tab » Macro dropdown.
- Click on Record Macro as below.

-
Now Macro recording will start.
-
Do the steps of action, which you want to perform repeatedly. Macro will record those steps.
-
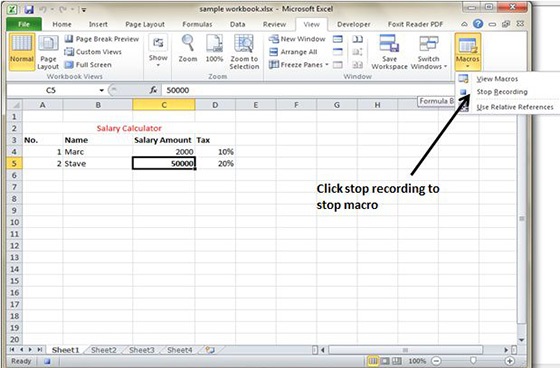
You can stop the macro recording once done with all steps.

Edit Macro
You can edit the created Macro at any time. Editing macro will take you to the VBA programming editor.


